Magento2 CAPTCHA Extension
The following tutorial will guide you on how to integrate the TrustCaptcha CAPTCHA solution into your Magento2 website to protect it from bots and spam.
Preparation
Section titled “Preparation”You should have already completed the following steps before you start to integrate TrustCaptcha into your Magento2 website.
Read Get-Started: Get a quick overview of the concepts behind TrustCaptcha and the integration process in get started.
Existing CAPTCHA: If you don’t have a CAPTCHA yet, sign in or create a new user account. Then create a new CAPTCHA.
Existing Magento2 website: You need a Magento2 website in which you want to integrate TrustCaptcha.
Supported Modes and Forms
Section titled “Supported Modes and Forms”TrustCaptcha functions as a native Magento CAPTCHA replacement. Magento can decide whether a CAPTCHA is required and request it if necessary. Alternatively, the CAPTCHA can always be displayed. Currently, our Magento2 CAPTCHA extension for TrustCaptcha supports the following Magento2 actions and forms, among others:
- Customer Login
- Create Account / Registration
- Forgot Password
- Contact Form
- Product Review Submission
- Email to a Friend
- Share Wishlist
- Orders & Returns
Follow the steps below to integrate the TrustCaptcha CAPTCHA plugin into your Magento2 website.
1. Installation
Section titled “1. Installation”Perform the following steps to install the CAPTCHA extension via Composer (Packagist):
composer require trustcomponent/trustcaptcha-magento2:^3.0bin/magento module:enable TrustComponent_TrustCaptchaMagento2bin/magento setup:upgradebin/magento setup:di:compilebin/magento setup:static-content:deploy -fbin/magento cache:flushYou can find our TrustCaptcha Magento2 package on Packagist.
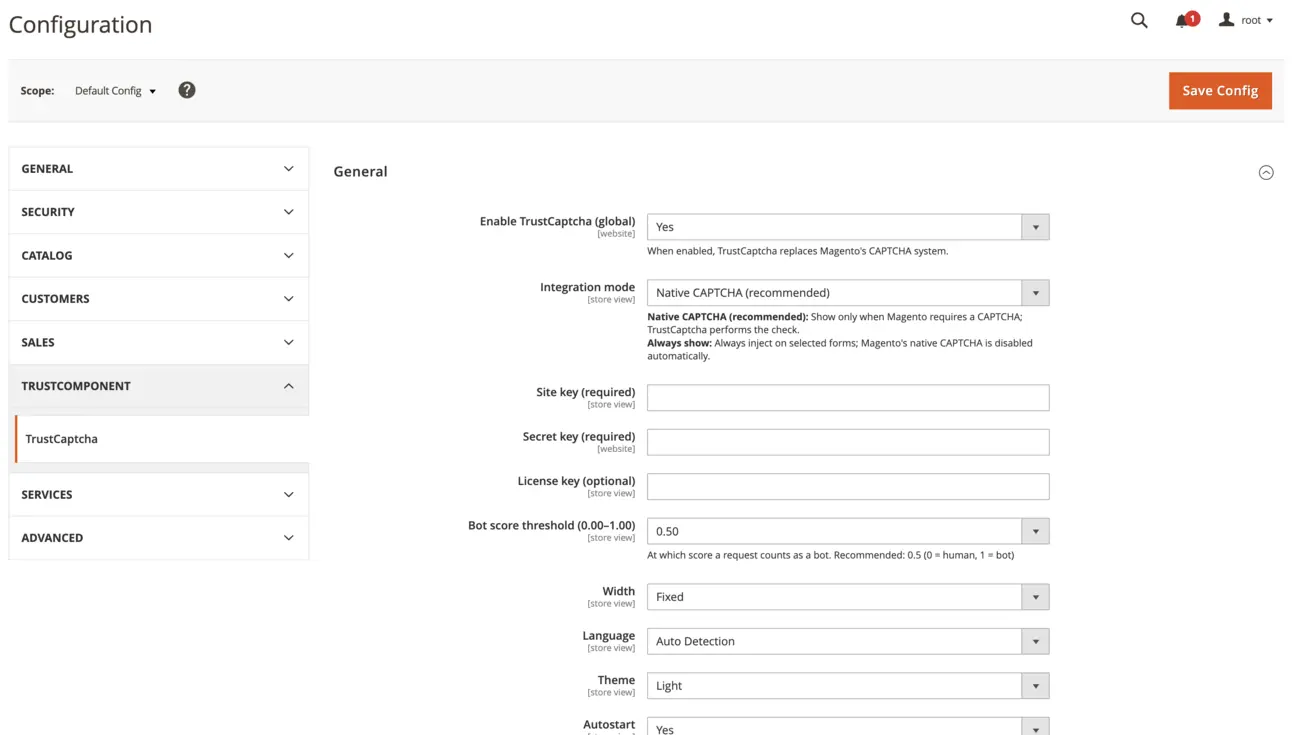
2. Configuration
Section titled “2. Configuration”Follow these steps to configure TrustCaptcha in your Magento 2 instance:
- Login as an admin to your Magento instance.
- Navigate to
Stores → Configuration → TrustComponent → TrustCaptcha. - Enter the
site-keyandapi-keyof your CAPTCHA. You can find and manage these keys in your CAPTCHA settings. - Optional: Adjust additional settings such as language, theme, or threshold as needed.
3. Ready to Use
Section titled “3. Ready to Use”The plugin is successfully installed and ready to use. TrustCaptcha now automatically appears on your website.
Next steps
Section titled “Next steps”Once you have successfully installed and configured TrustCaptcha on your website, you can use TrustCaptcha to its full extent. However, we still recommend the following additional technical and organizational measures:
Security rules: You can find many security settings for your CAPTCHA in the CAPTCHA settings. These include, for example, authorized websites, CAPTCHA bypass for specific IP addresses, bypass keys, IP based blocking, geoblocking, individual difficulty and duration of the CAPTCHA, and much more. Learn more about the security rules.
Data protection: Include a passage in your privacy policy that refers to the use of TrustCaptcha. We also recommend that you enter into a data processing agreement with us to stay GDPR-compliant. Learn more about data protection.
Accessibility: Customize TrustCaptcha to your website so that your website is as accessible as possible and offers the best possible user experience. More about accessibility.
Testing: If you use automated testing, make sure that the CAPTCHA does not block it. Learn more about testing.